
Before looking at this, take a look at the original project back in the Projects Gallery.
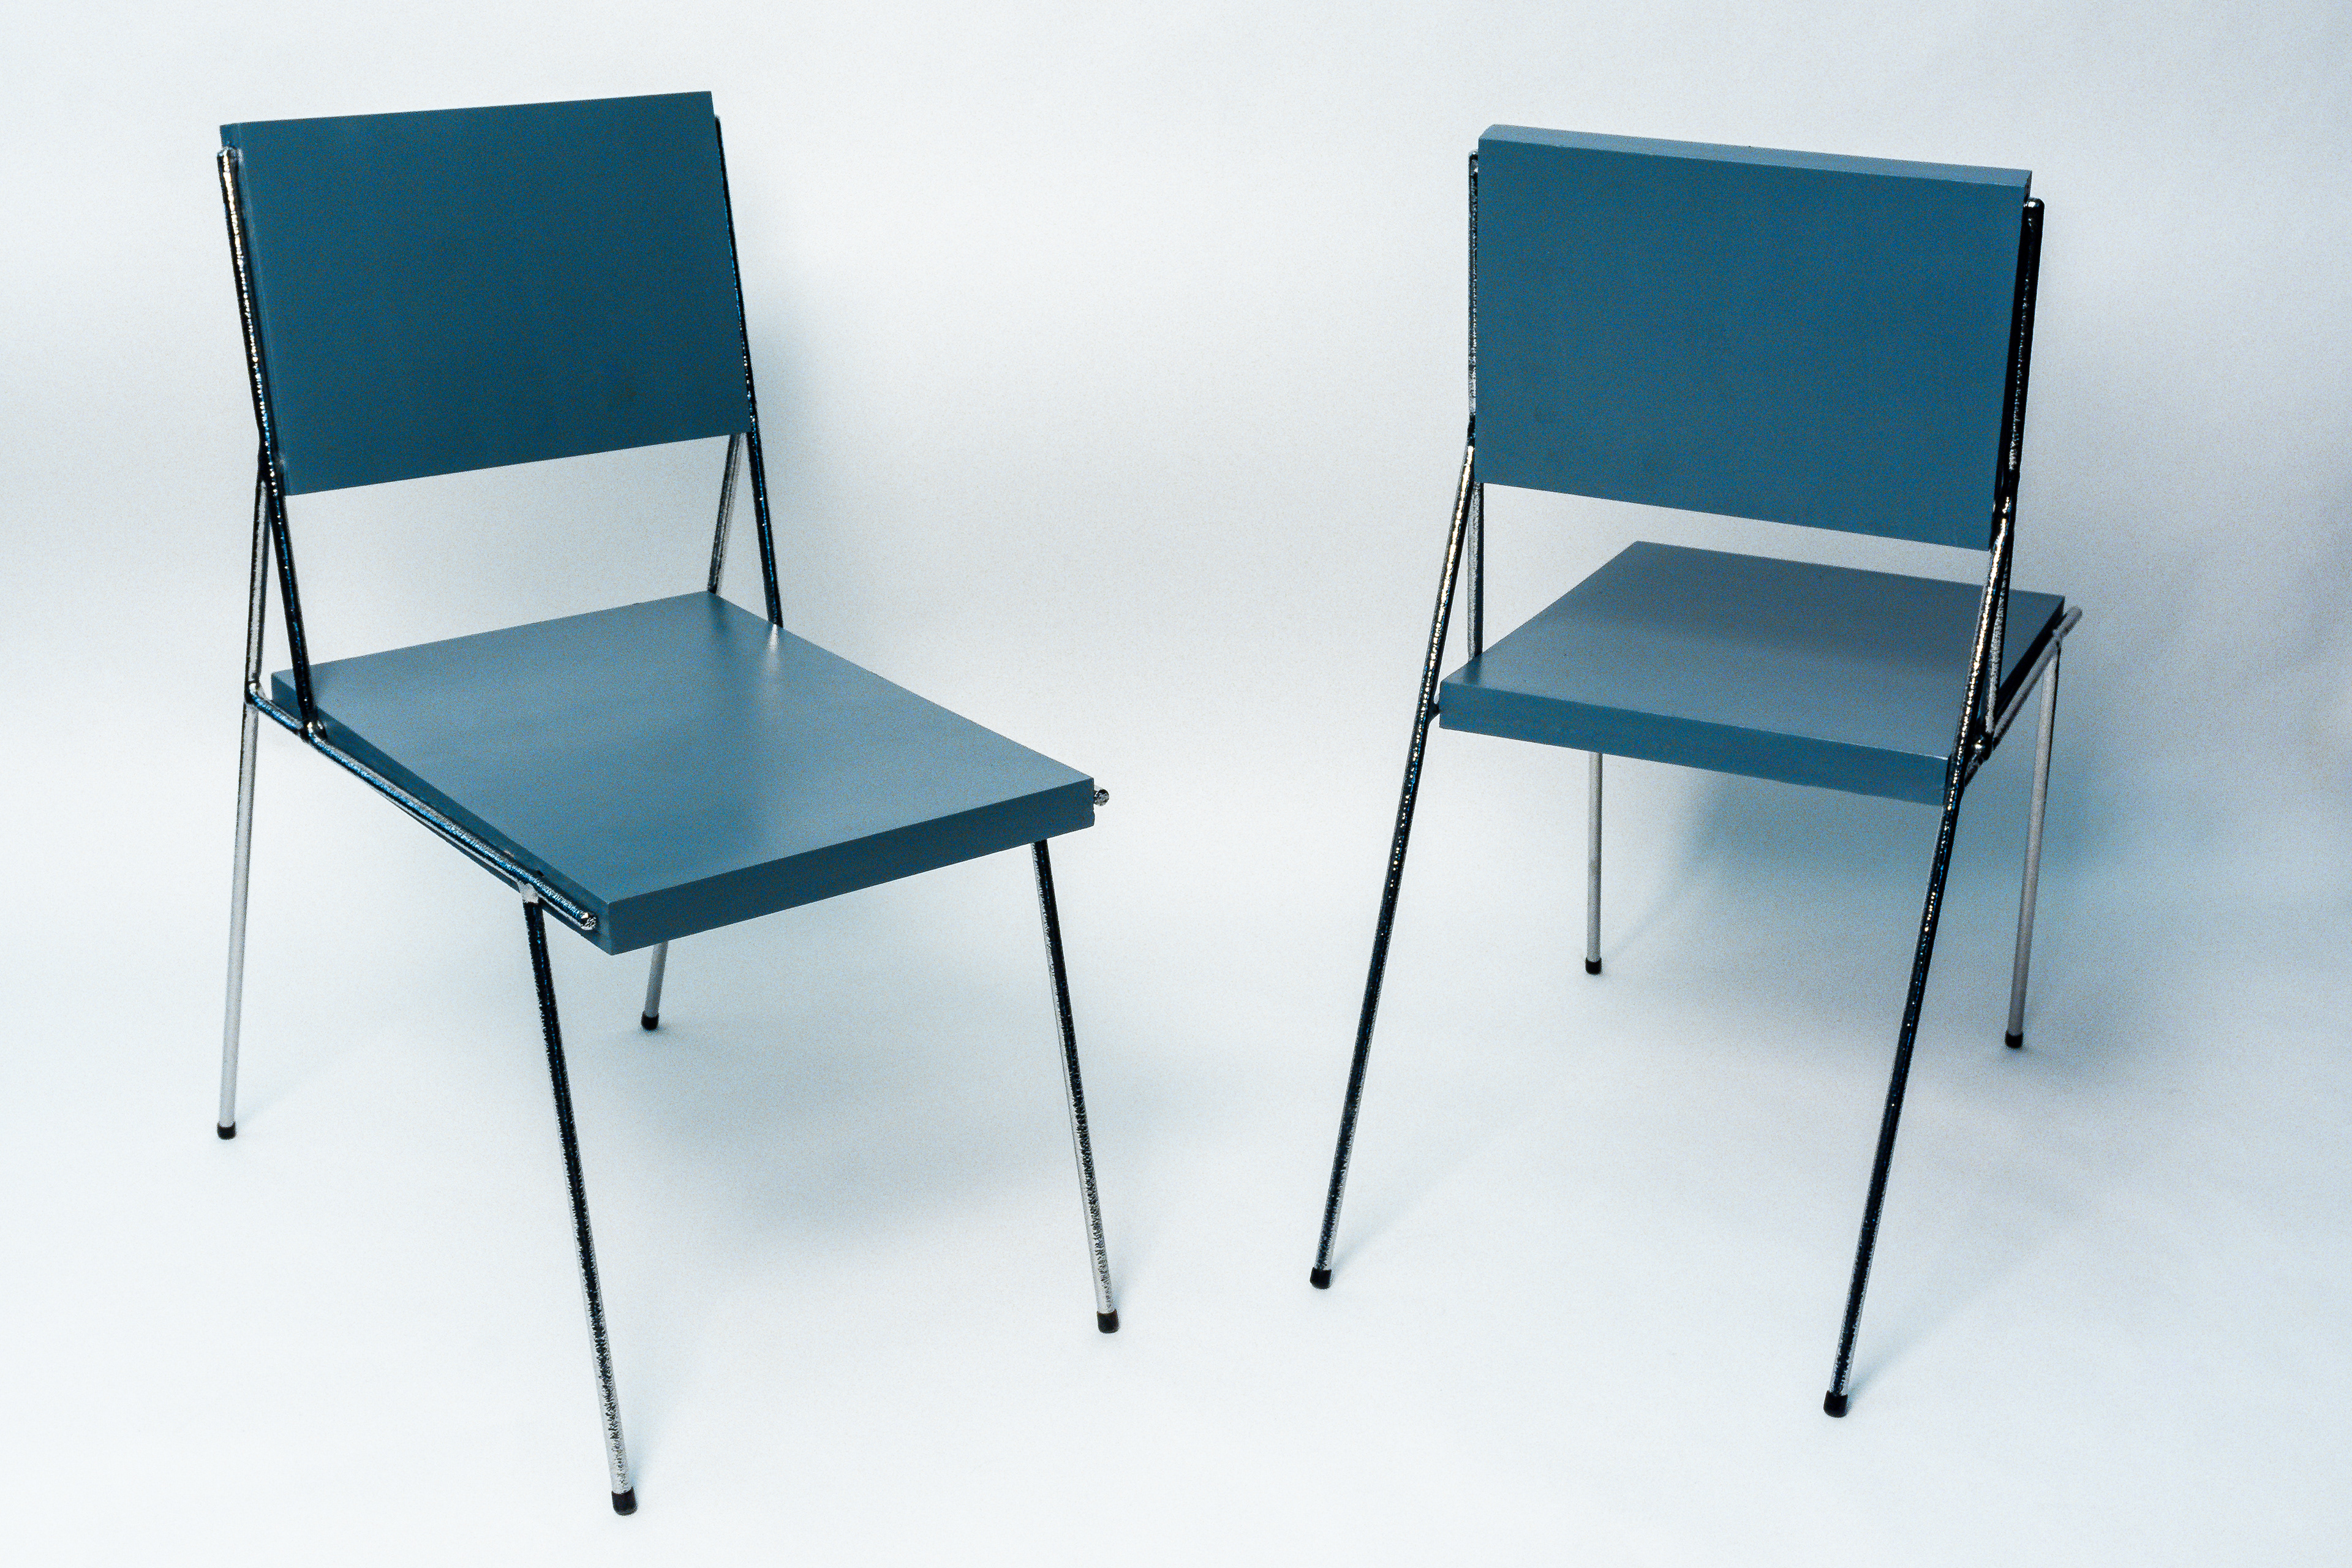
After the completion of the Chairs project, I was unhappy with how the end product turned out, it wasn't up to my standards of quality. So I decided to update this project in my free time over the course of my final semester in college. Over that time period I tackled three main facets of this project: 1) Metal finish 2) The connection between the metal frame and the seats and backs and 3) The finish of the seats.
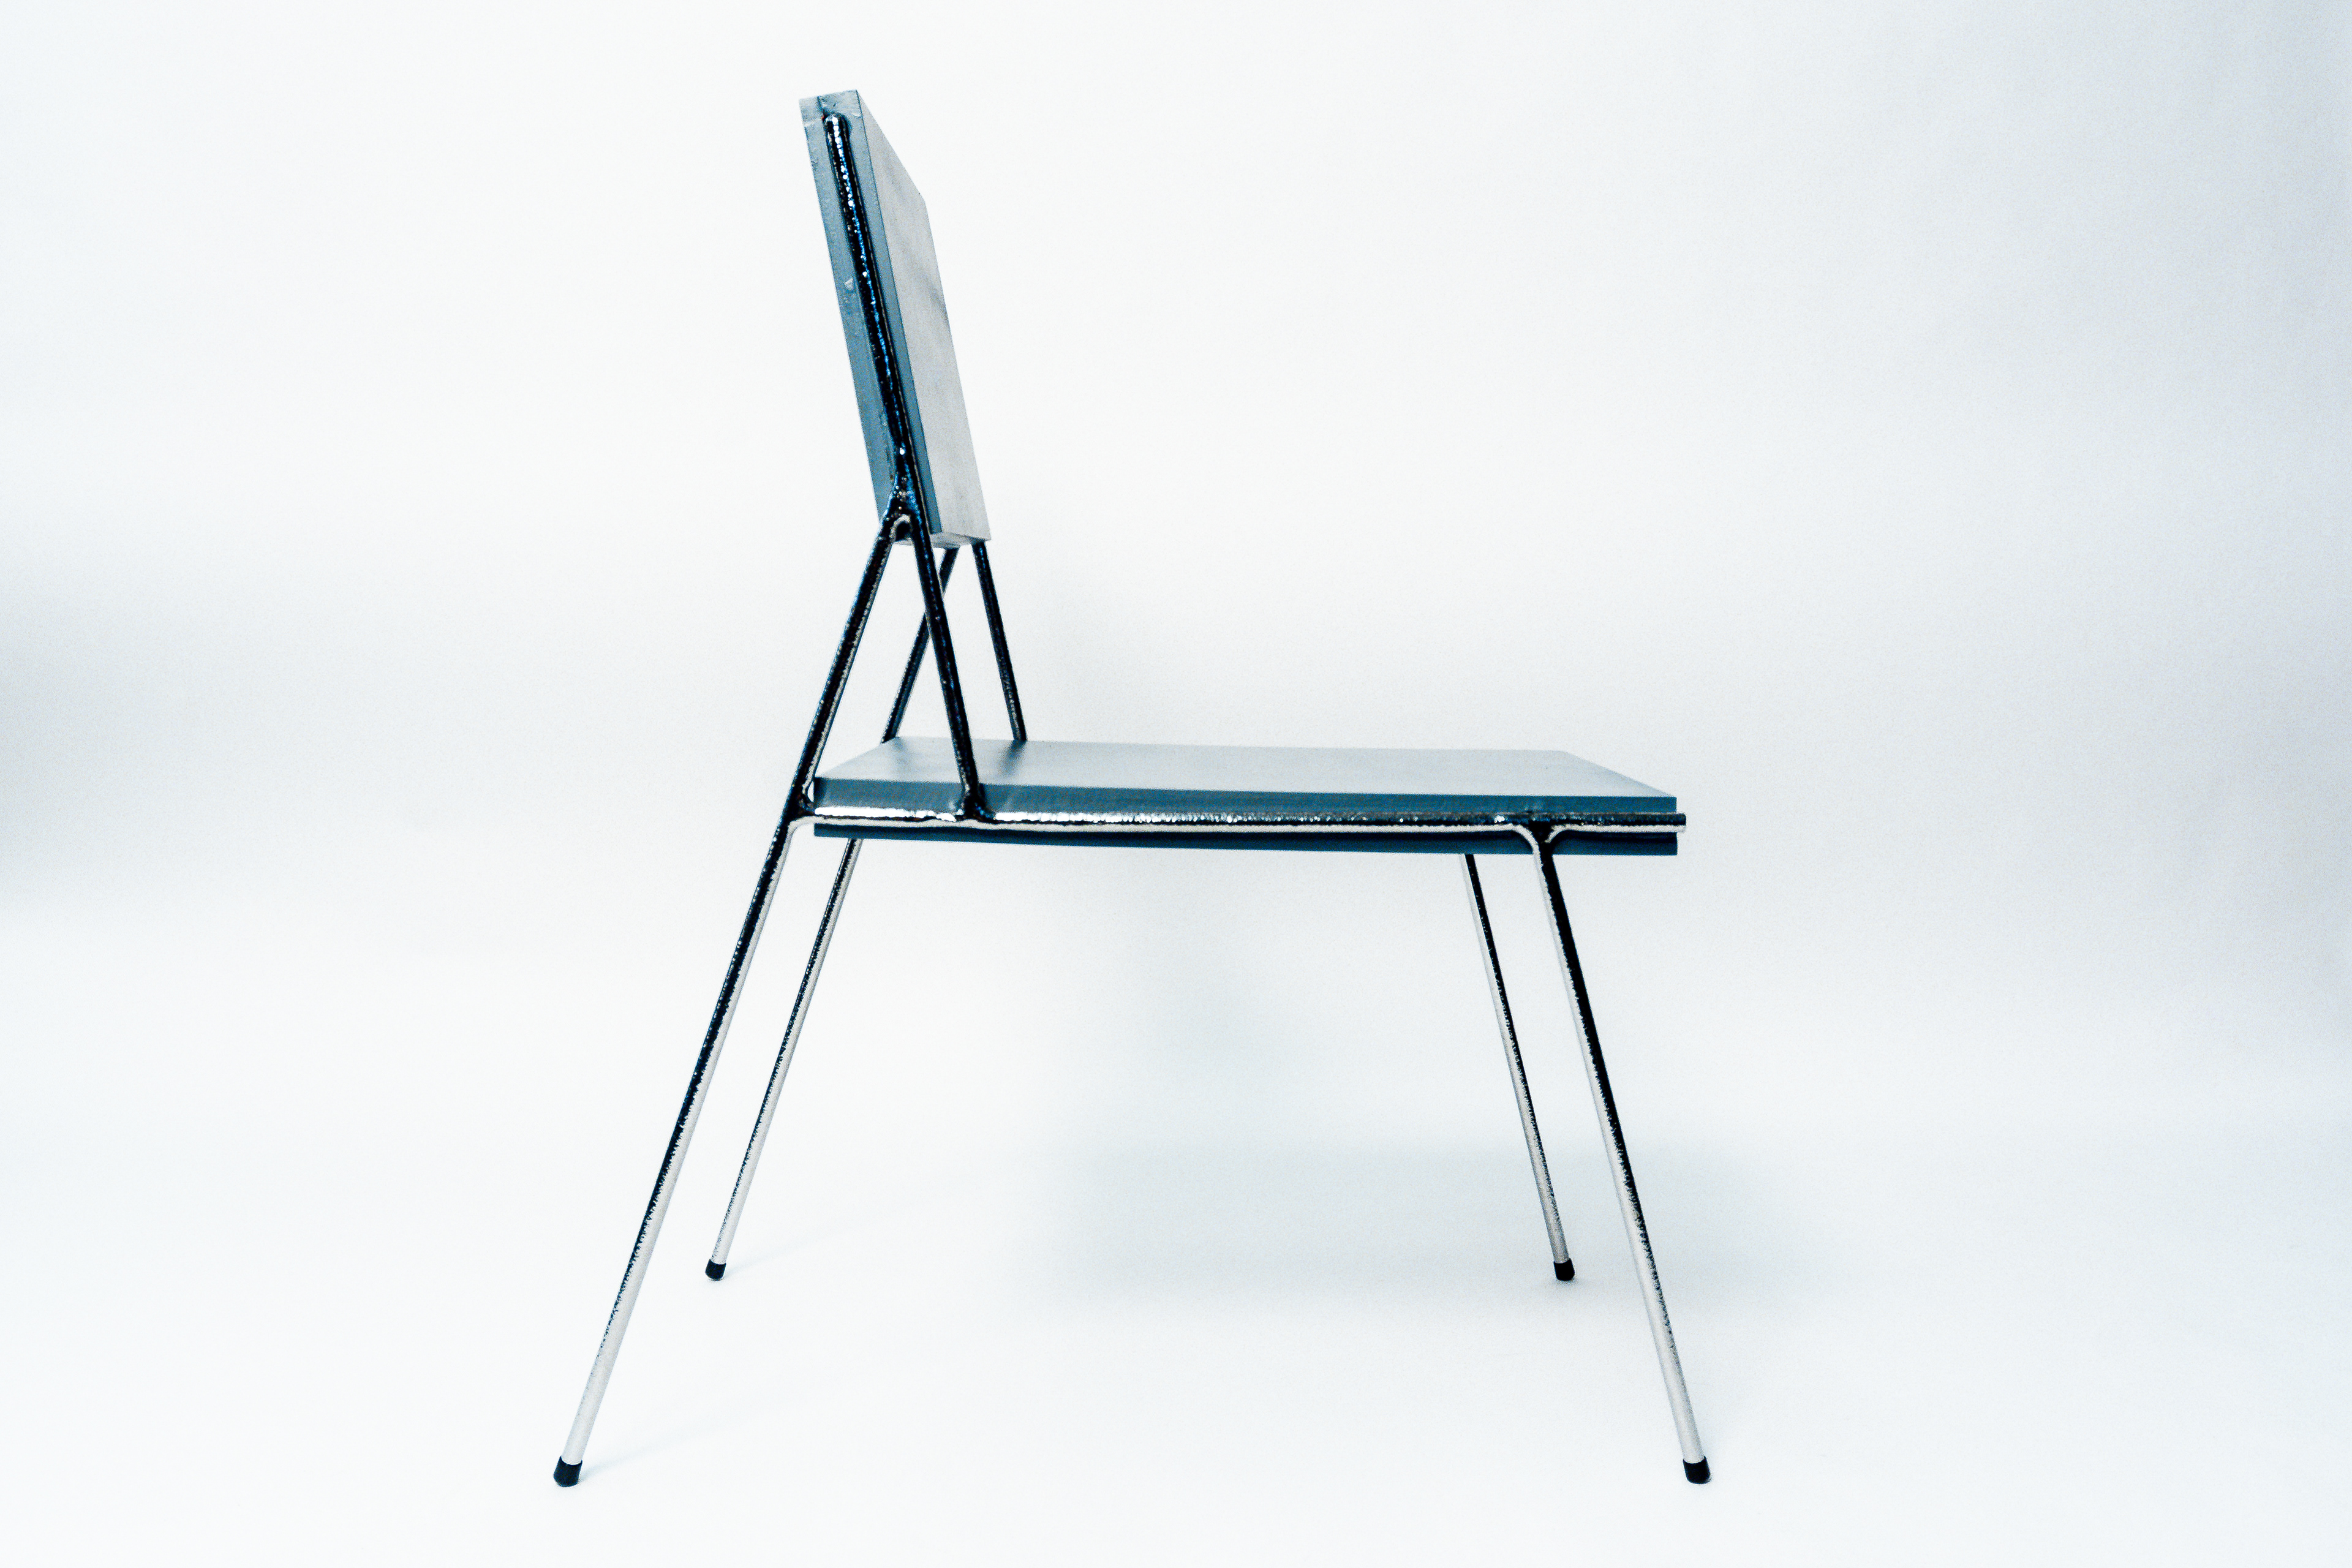
First part of this project was addressing the finish of the metal. I really liked the texture of the frame I got by using a carbide burr, but I wanted to preserve that texture and not have it rust over time seeing as I plan to use these. For that I contacted a local company, based off the recommendation of my furniture design professor, to get the pieces chrome plated. This would preserve the texture of the metal and have it last forever with little maintenance. The company, AAA Metal Finishing, did a fantastic job and I couldn't recommend them more!
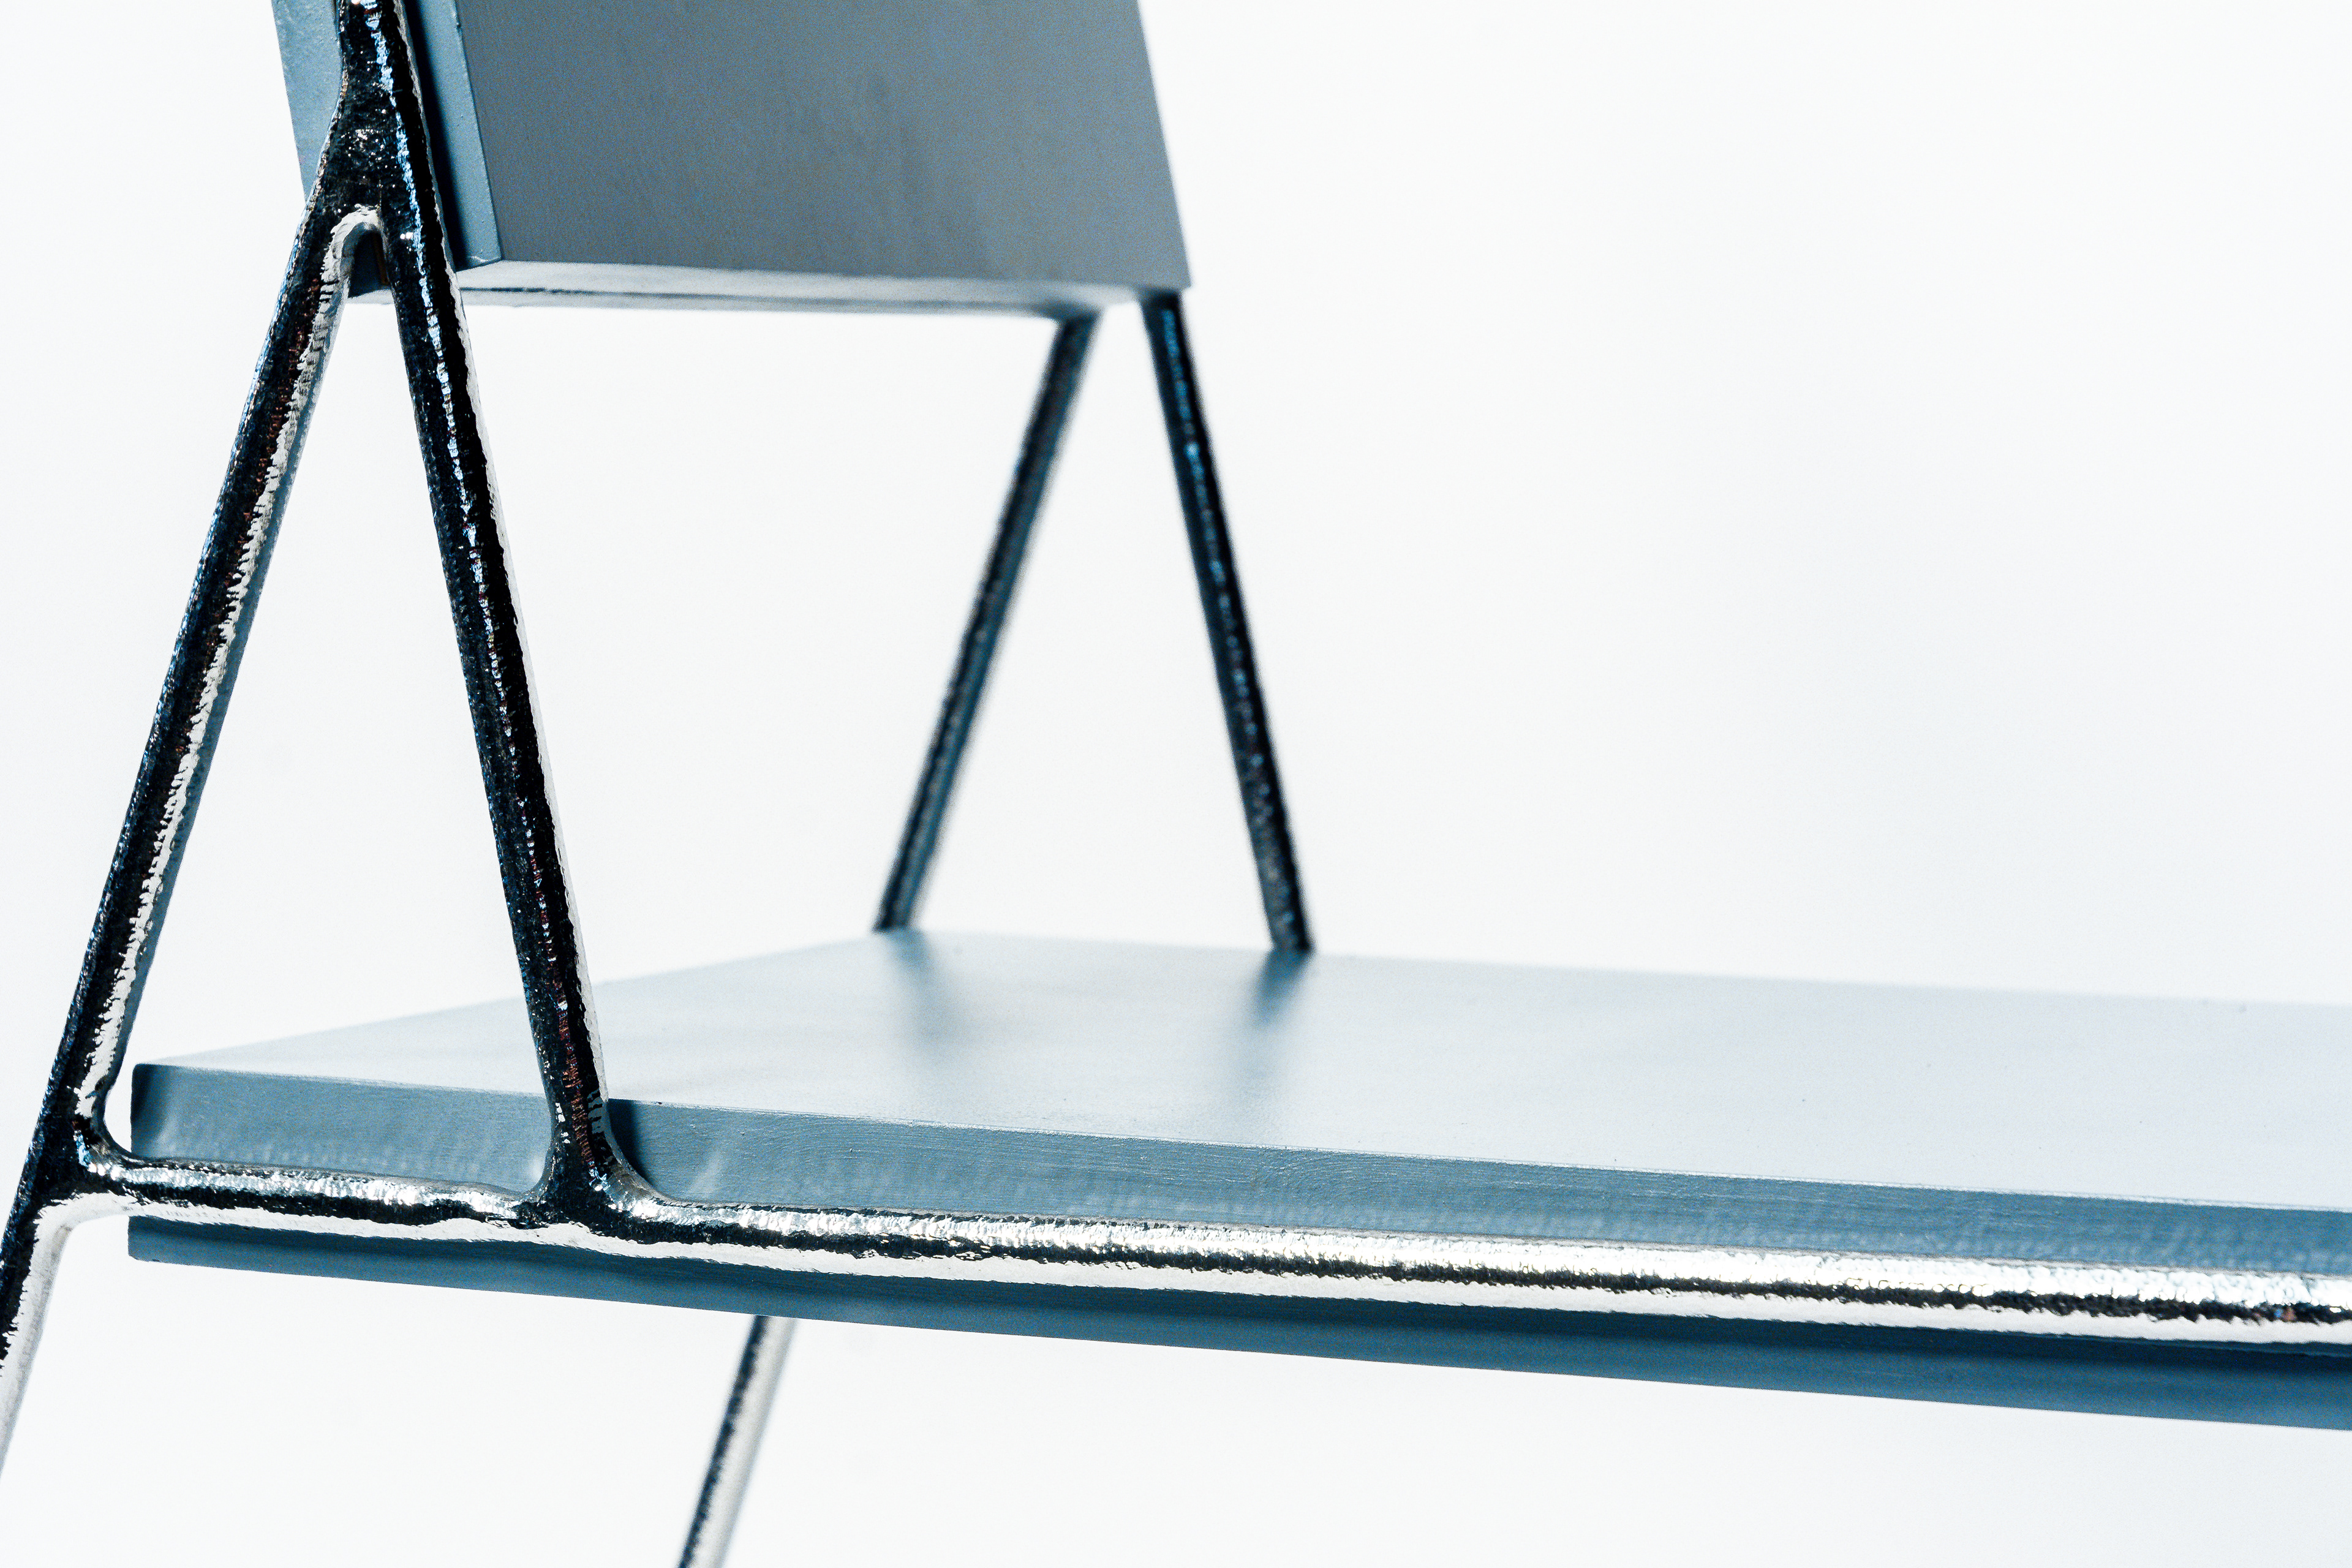
The second aspect of this project was the connection between the metal frame and the seats and backs. I really disliked the metal brackets I made the night before the review for this project because the just didn't fit the design and felt like an after thought. In all honesty, they were an after thought and I needed to finish the project and this was the simple way I thought of without having to buy something. When I was making the chairs originally, I thought I wouldn't have any hardware in it to keep a really simple look and let the frame and textures be showcased. So I went on to achieve that by using a sandwich method, where the seats and backs are made up of three layers of 0.50 inch plywood. The first and third layers are essentially just the rectangles cut out to fit the chair frame. the second layer has channels routed in it so the chair frame fits into the seats and backs. I used the CNC router we have at the College of Design to cut out the channels and make the seats and backs perfectly square. After doing days of measuring so I didn't mess up I mapped out my lines to cut the channels and make rectangles to fit the off square frames I had, and I cut them out. I went back over them with a palm router and files to make the channels deeper and round off the entrances of the channels for the welds of the frame to fit in.
Then lastly, the finish of the seats. I didn't want to keep the bare wood because it felt unfinished and I didn't think it would look good with the chrome. Also there were a lot of imperfections in my plywood, so I used Bondo wood filler and spot putty to fill in those imperfections and the sides where the layer lines are to get a smooth surface. That way when I ended up painting these the paint wouldn't soak up into the wood at different rates revealing the plywood layer lines or the grain of the wood on the faces.
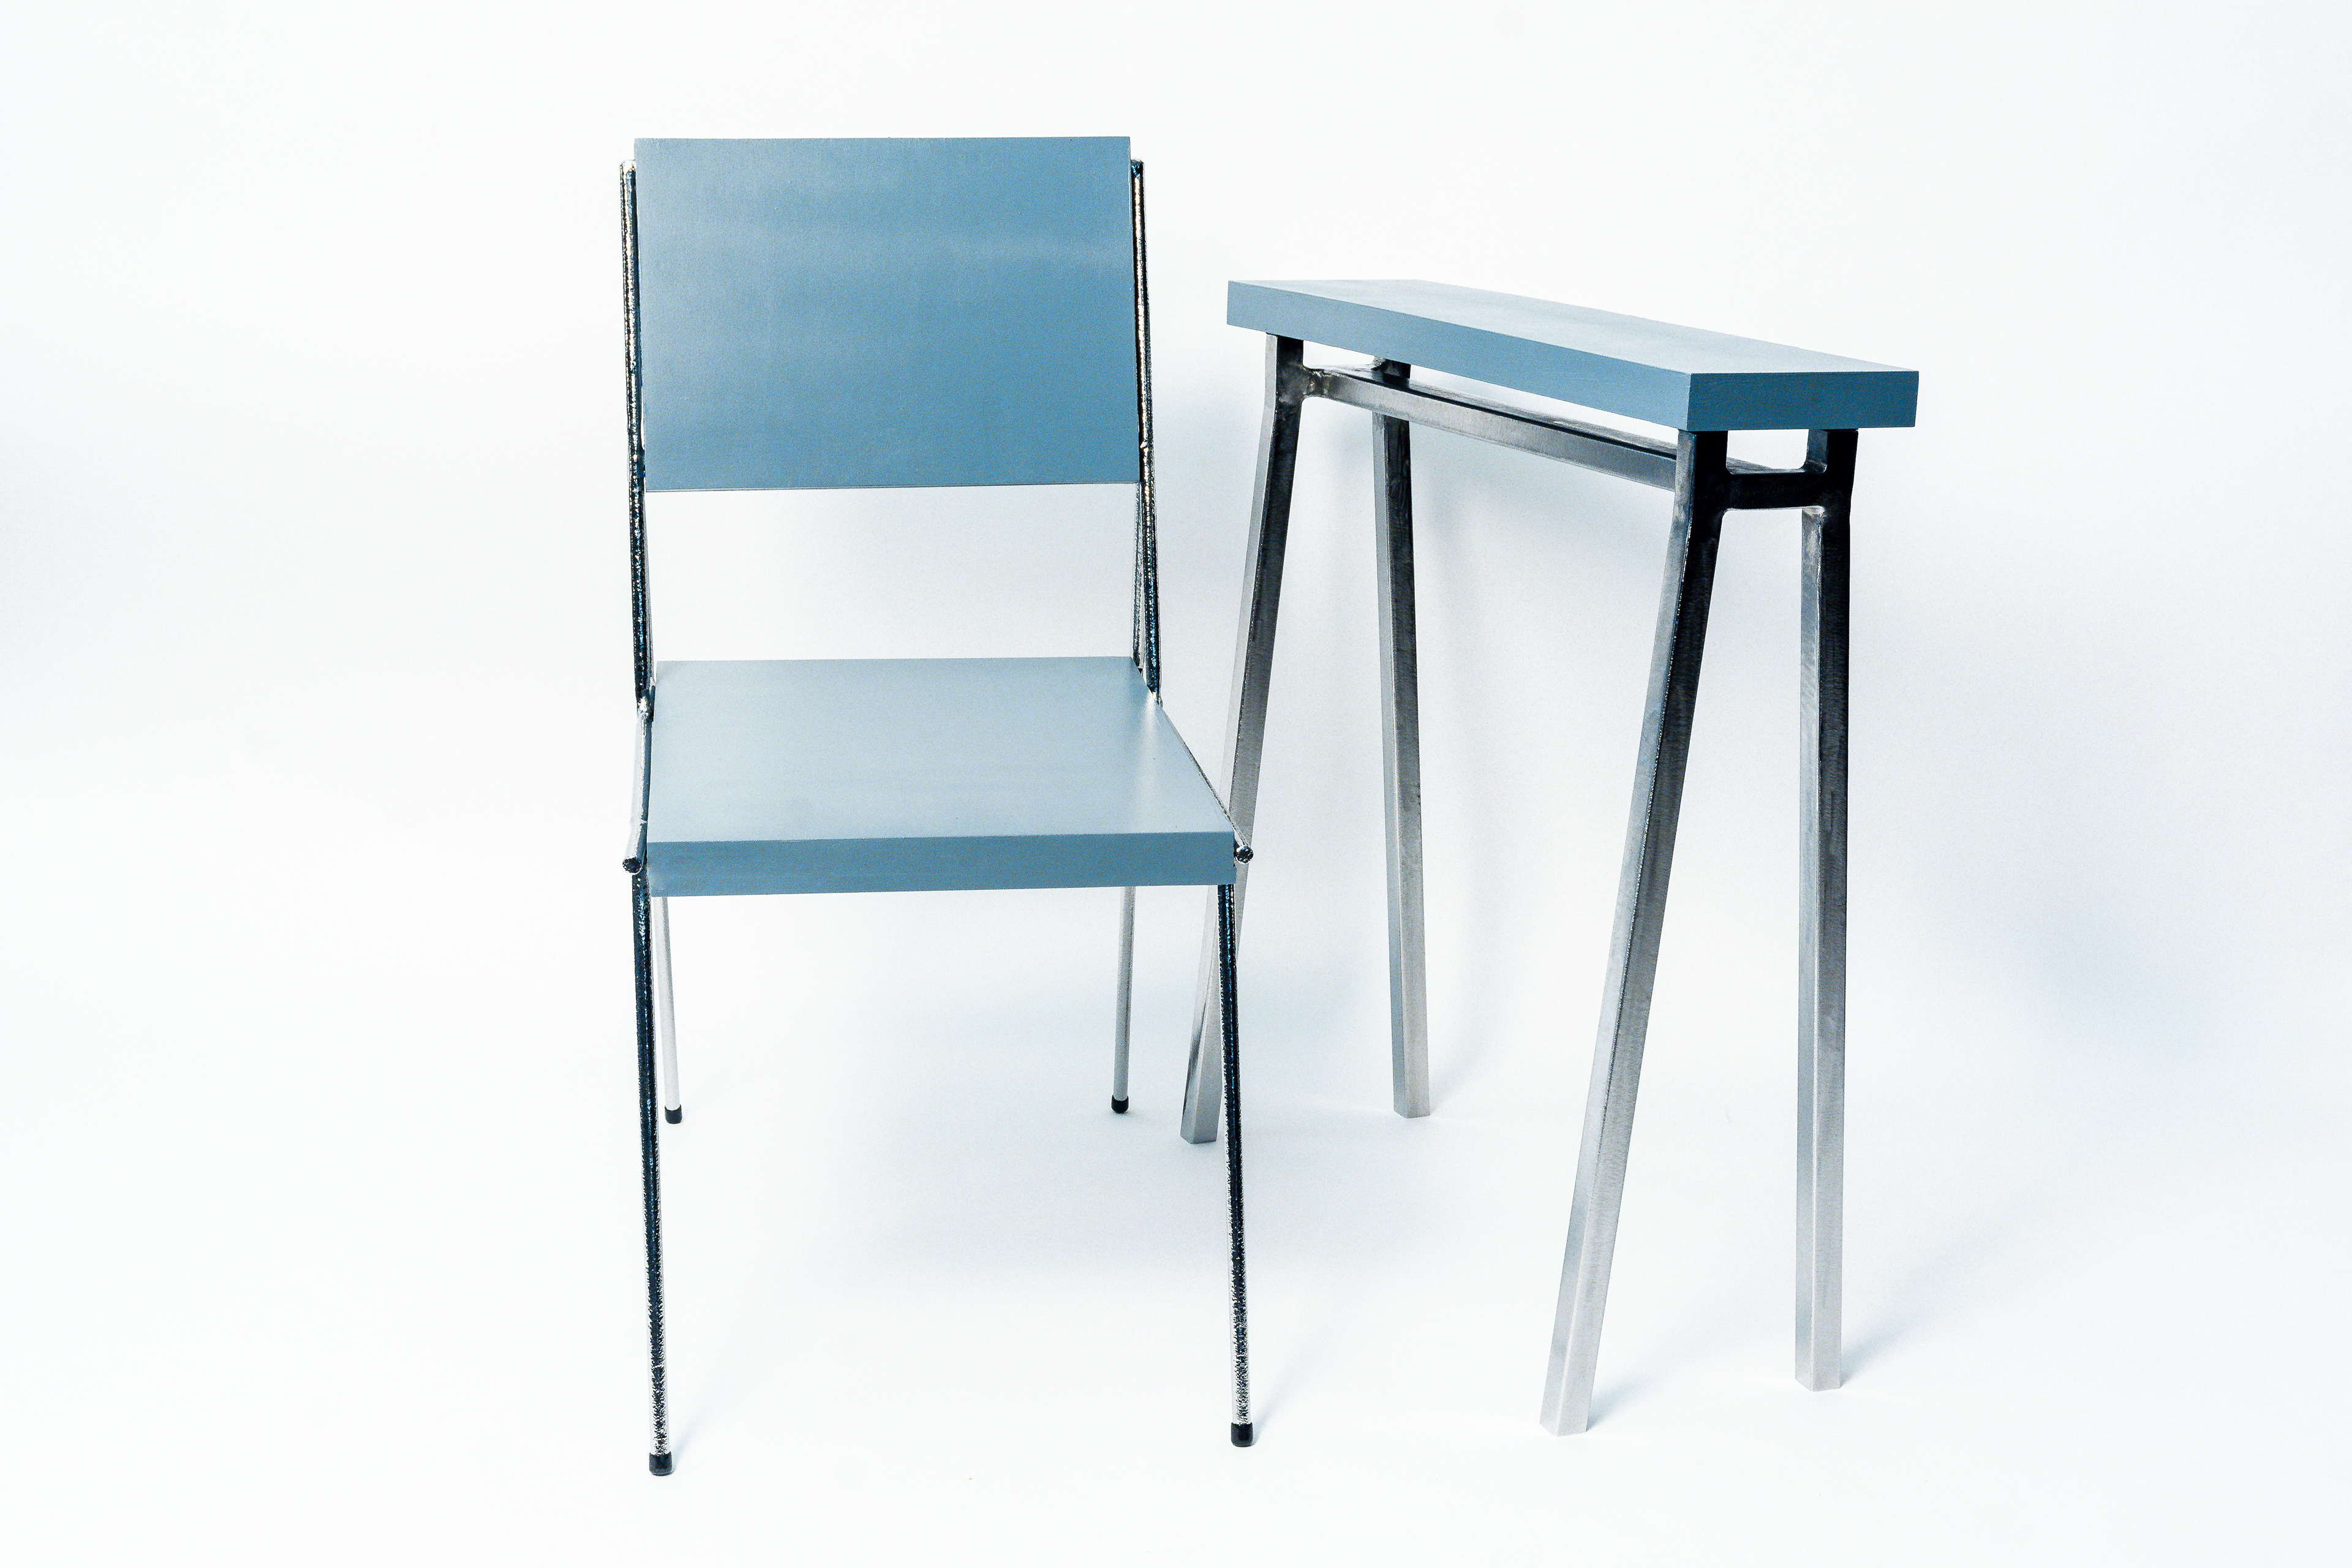
Overall I am much happier with the outcome of this project. It is much cleaner and even more cohesive with my trestles, which is what I was going for. And it looks so much better in my eyes.