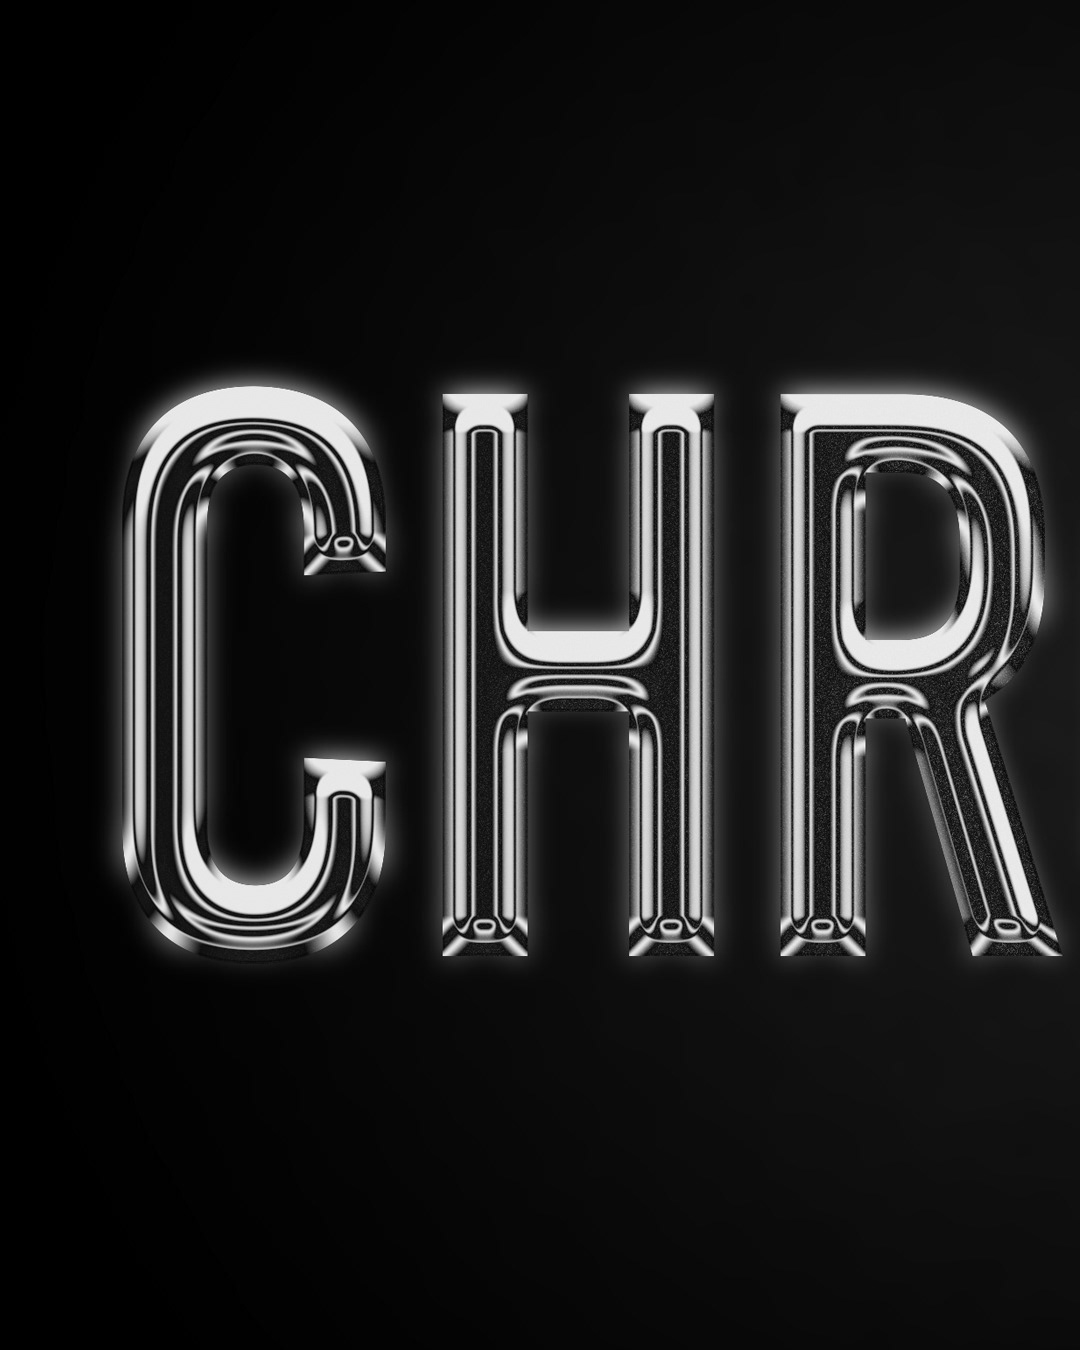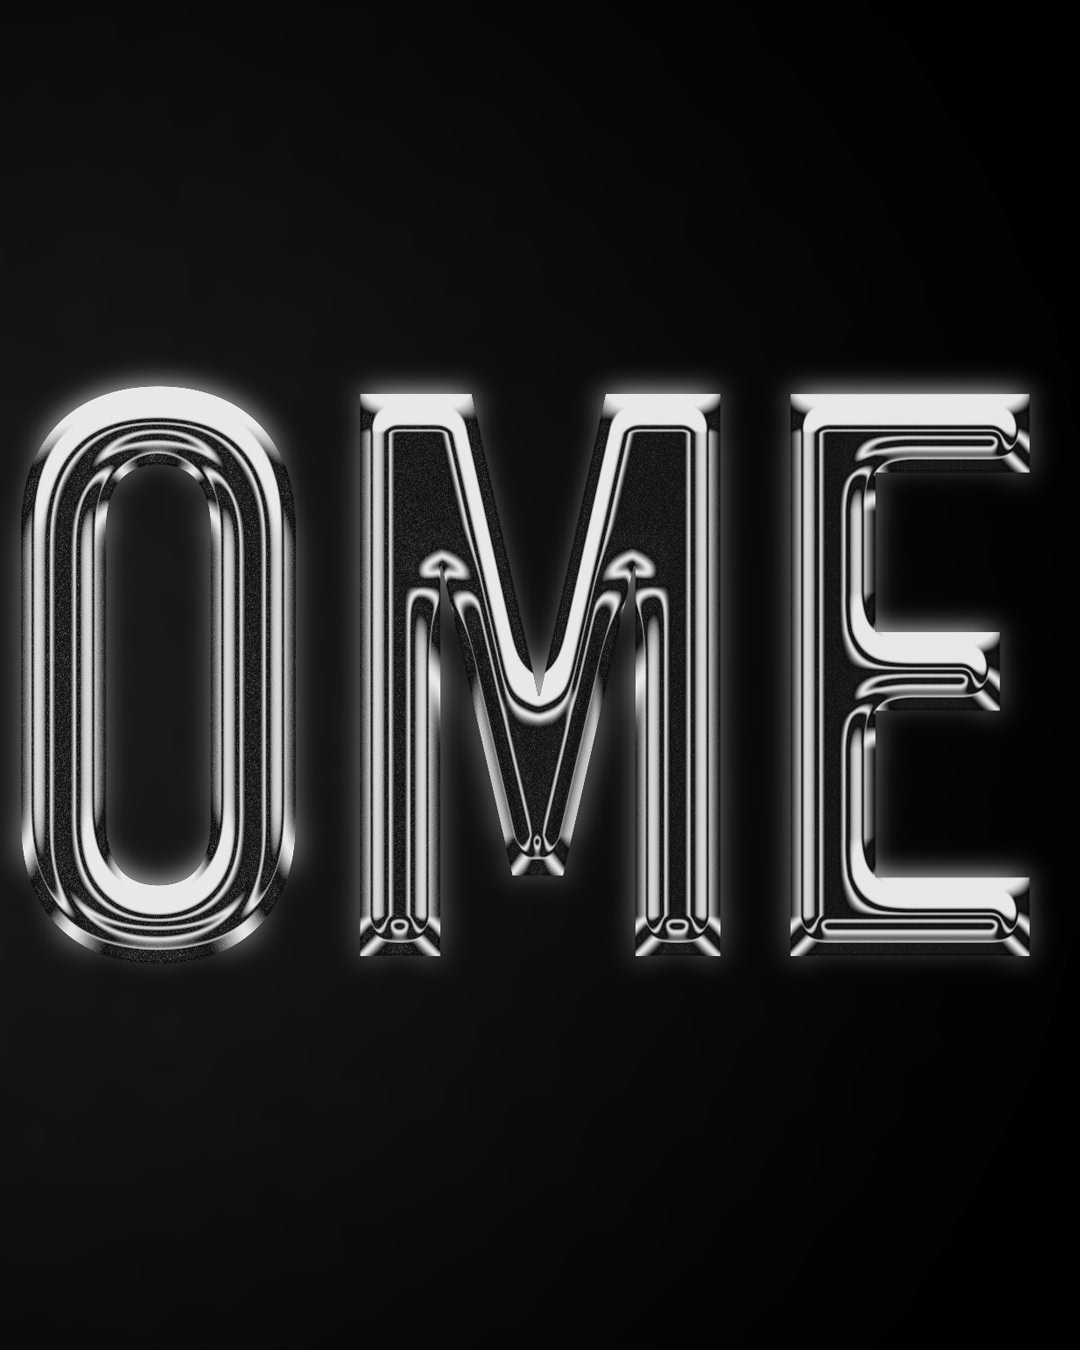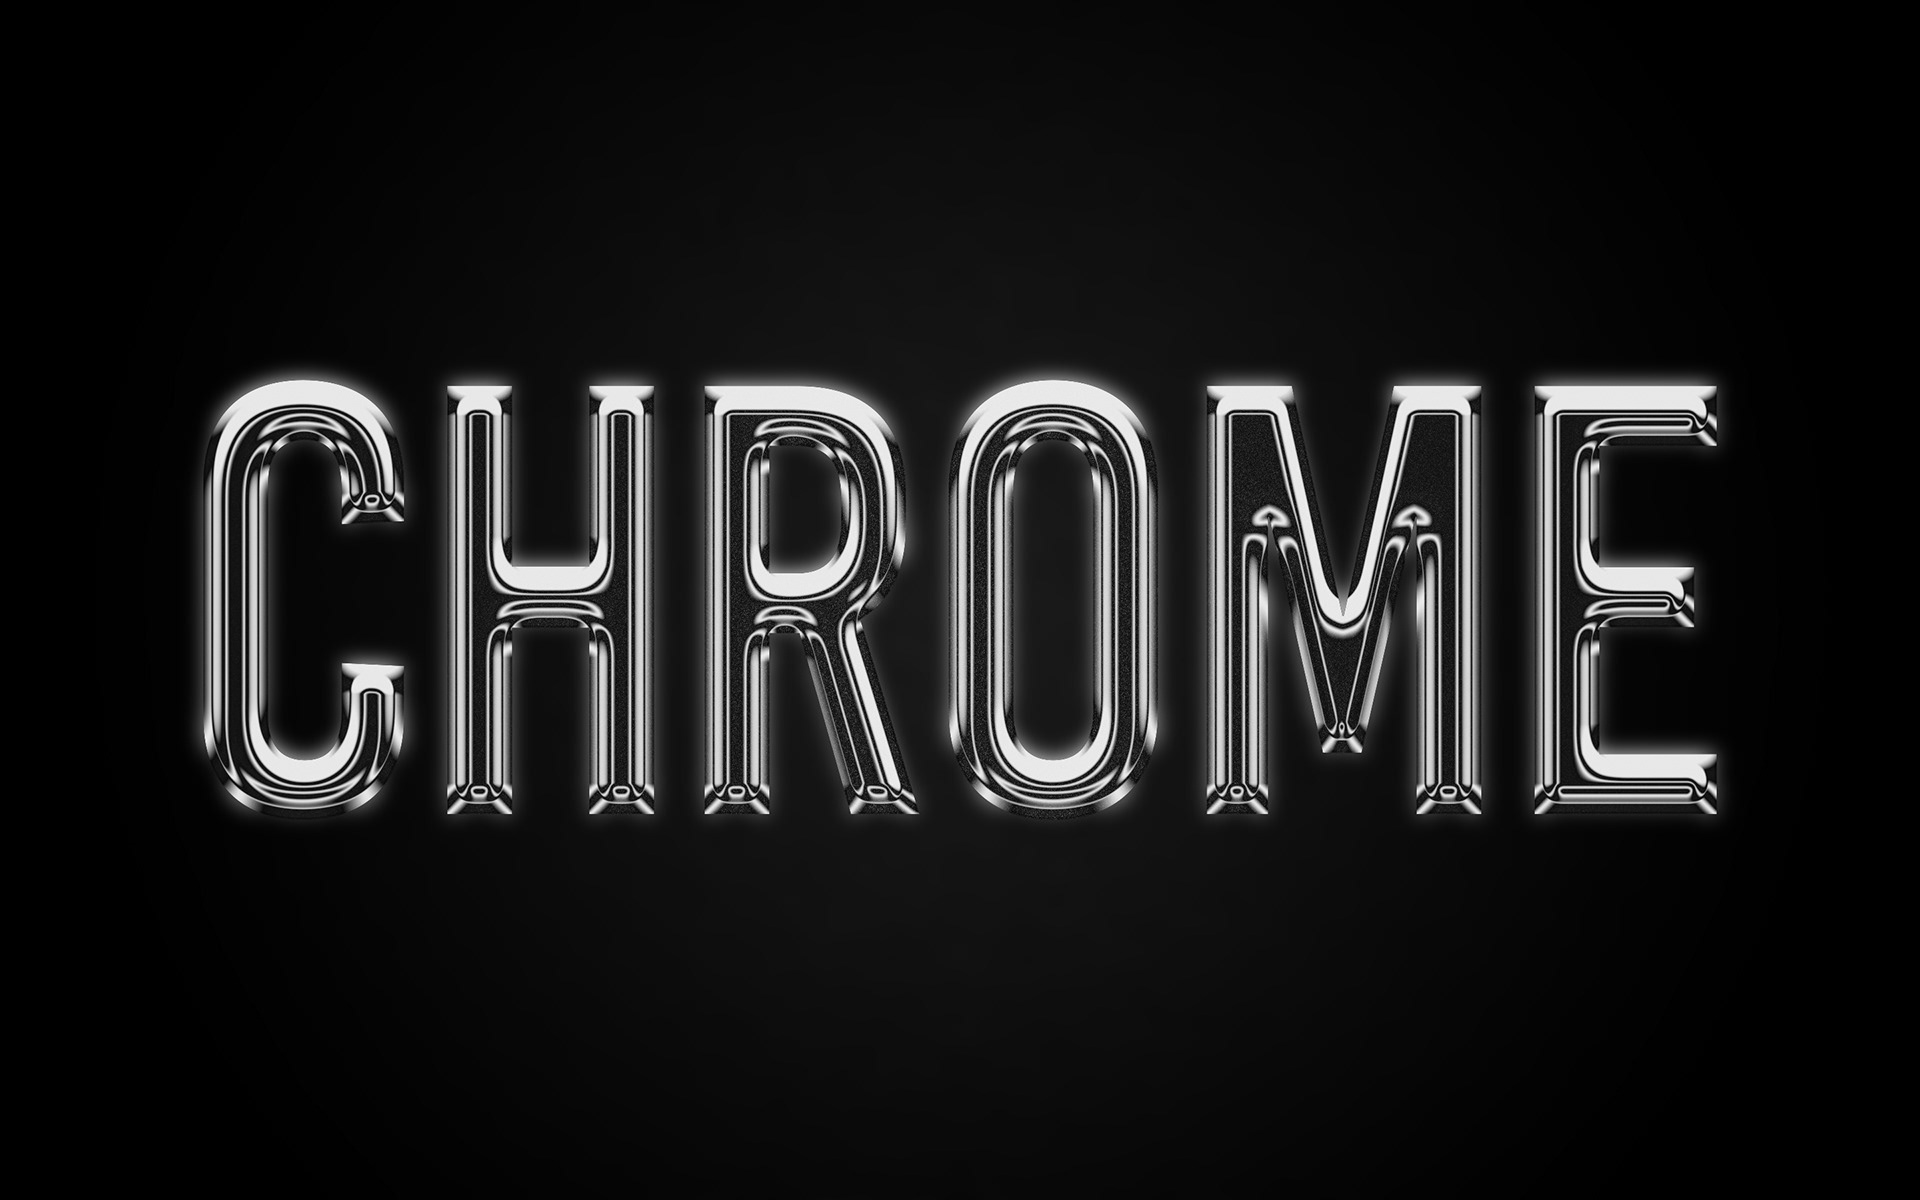
I call this project 'CHROME' because I wanted to play around with text effects, and I know chrome is a difficult thing to accomplish besides actually chrome plating something. Rendering chrome is hard, painting chrome is hard, so let's give it a shot in Adobe Photoshop. First thing to do was choosing a font, for this effect I wanted something that was a bit heavier and wider so the effect could stand out more. I ended up choosing 'Bebas Kai' as my font. I made my text a smart object, so I can go back and refine any adjustments I would make later on, or easily change what I typed if I wanted to change it.
To achieve this effect I messed around with the layer styles. With this Photoshop gives you a lot of options to mess around with, and I ended up using these ones: bevel & emboss, contour, inner shadow, and drop shadow. The trickiest part about this whole process was messing around with all the different contour masks and the blending modes because all the different combinations would give such varying results. The good part was that all the colors were either black or white. That is because chrome is a highly reflective surface, where the highlights are bright white and the shadows are dark black with all the counters being blended between those colors depending on where the light is coming from.
The last step to add some extra detail to this shot, is messing with the background a little bit. For that I added a slight radial gradient to an otherwise black background to add some more focus to the center of the shot. Then I added some noise using the noise filters to have a more gritty look on the chrome. After all of that I duplicated all the layers and combined the duplicates, and then blurred them using gaussian blur. This adds a slight halo around all the text to make it seem like it is wrapping around the back side. There are some larger images below to zoom in and see the details.