
This is one of the more in-depth images that I made and it used an Adobe program I have never used before, and that was Fuse. Fuse allowed me to make this character model by putting an outfit.
Making the model in Fuse wasn't too hard because it was an easy interface. For this image I knew I wanted to have a space vibe to it so I outfitted the model with some space-y looking things that wasn't a full blown astronaut suit. Next I imported the model into photoshop where I could then pose, light, and render it in the 3D space Photoshop has.
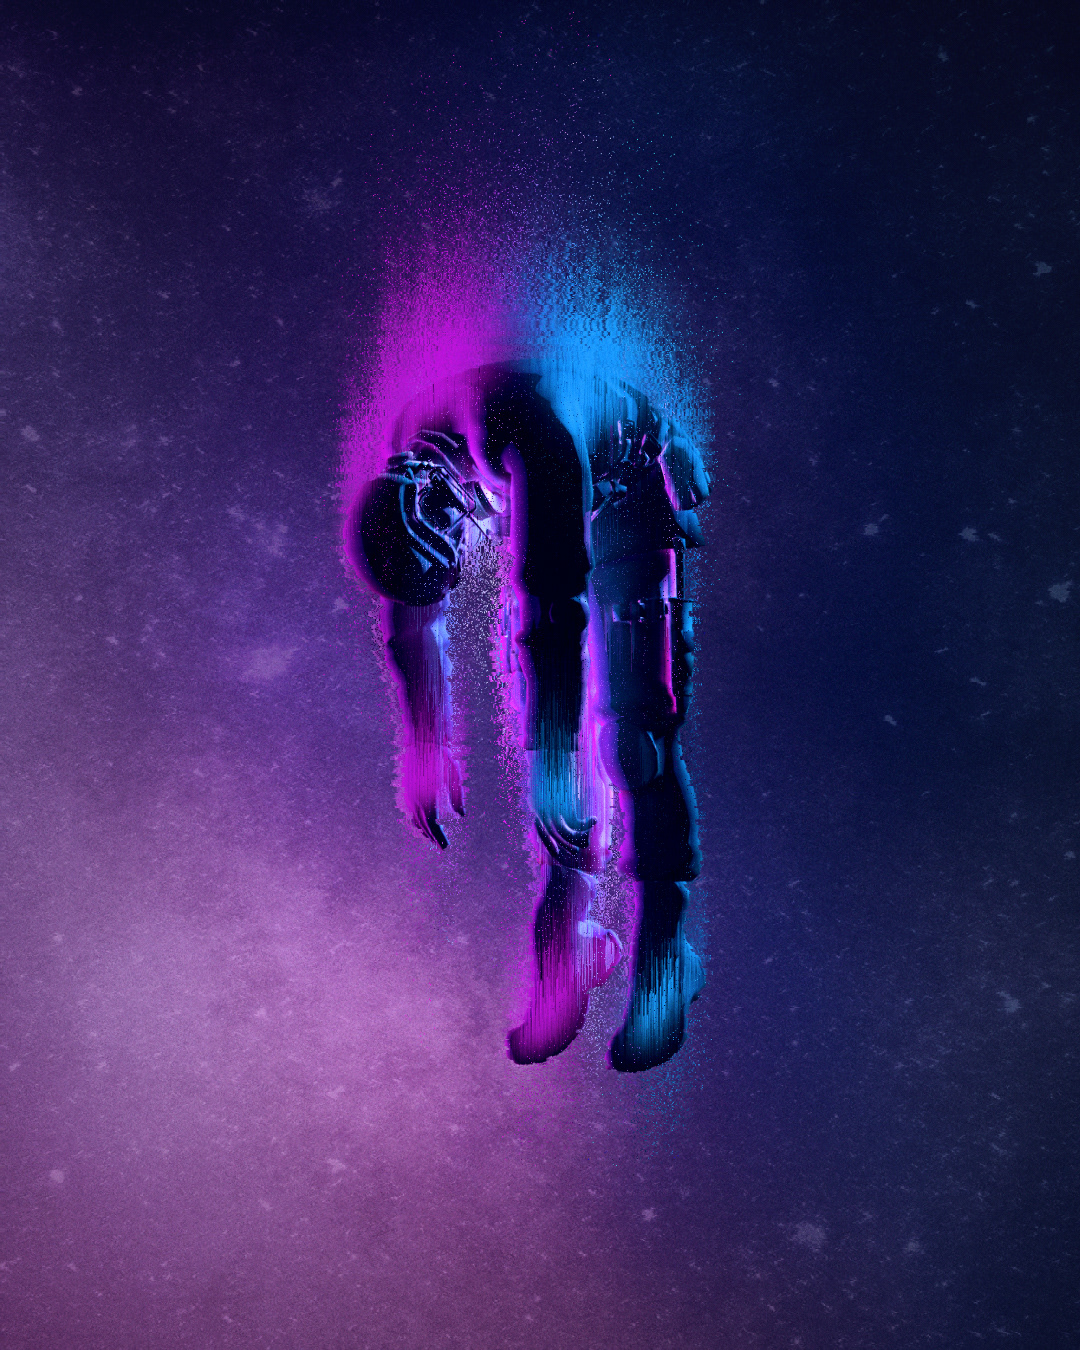
I posed the model in a way where they were almost getting sucked into a void from a video game or movie for the effects I was going to do. Next was rendering out the model. for this I made sure that I had two lights on the model, one of the pink color I was going to use and another of the blue to get this cross lighting effect. Then I also made sure to turn off the reflection/shine of the materials so everything wasn't blown out and I could make it darker space vibe. Then I rendered the model so it was a raster image I could edit.
Next the first thing to do was to make the background. So I found a space image that I could use and imported that and made a copy of it. The first copy I blurred using a gaussian blur, but made sure to change the document mode to 16 bit so when I blurred it there wasn't banding across the image. Then the second copy I put on top of the blurred copy and lowered the opacity so I could get the stars in the background. Next I painted in the bottom left and top right the light colors I put on the Fuse model when rendering it. So in the front in the bottom left I softly painted with the pink and did the same thing in the top right with the blue. I changed the blending mode to color to have the background preserved but take on those colors I painted on top of it. I also blurred it a little bit with a gaussian blur. Next I added some contrast to the background as a whole with a curves adjustment layer, and changed the blending mode to multiply and lowered the opacity. Lastly I added some grain by making a new layer and filling it with 50% grey and then using the camera raw filter to add grain. I lowered the opacity and used the soft light blending mode to bring it all together. Boom background done.
Next up is to make all the pixel streaks coming off the Fuse model. To do this I simply painted a dot or two of the pink or blue color on a new layer and then selected it and used the wind filter (filter -> stylize -> wind). With the wind filter I changed the setting to blast to get more streaks. Then it was just placing the streaks and distorting/transforming them to get these big long streaks. Then using layer masks to clean up the streaks so they were just coming off the body or ending at certain points. Next to emphasize the streaks even more I combined all the streaks and the Fuse model into a new layer and used the wind filter again a couple of times and put that right on top of the model in the same place. I changed the blend mode to lighten to brighten everything up a bit and messed around with the blending sliders in the layer style menu to have the original streaks and model show through the emphasized streaks. I did this whole process again but making sure to combine the model, original streaks, and the extra streaks this time. Then added a vertical motion blur and changed the blending mode to dissolve to get pixel dispersion effect. Then lowering the opacity and using a layer mask to clean it up a bit so it wasn't so pixely and overwhelming.
Now to tie everything together I added a few more effects. I added some fine digital noise to the whole image using the 50% grey fill on a new layer and using the add noise effect this time, and made it a lower opacity with the soft light blending mode. Next I wanted to sharpen the image, so I combined everything up into a new layer and then desaturated the layer and made a copy. Both of these I will be using the high pass filter with one having a smaller radius and the other having a large radius, but both I lowered the opacity and changed the blending modes to soft light. Then I added a whole slew of filters to add some contrast and blend the colors more, and they were: selective color, channel mixer with the multiply blend mode and a lower opacity, color balance, curves with the luminosity blending mode, color lookup with a lower opacity and a layer mask to not affect the area around the fuse model and streaks. Then lastly I merged everything into a new layer and made a layer mask that excluded the model and added a wave distort filter to have the streaks go up in more of a zig zag pattern.